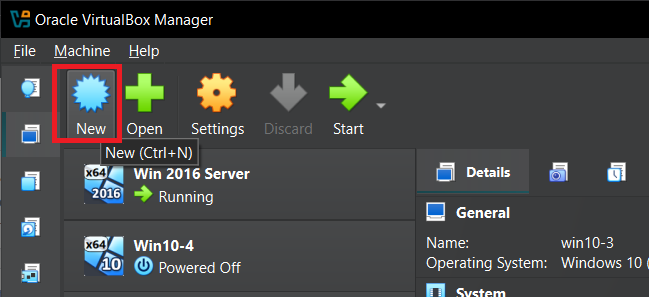
Open VirtualBox and click New.
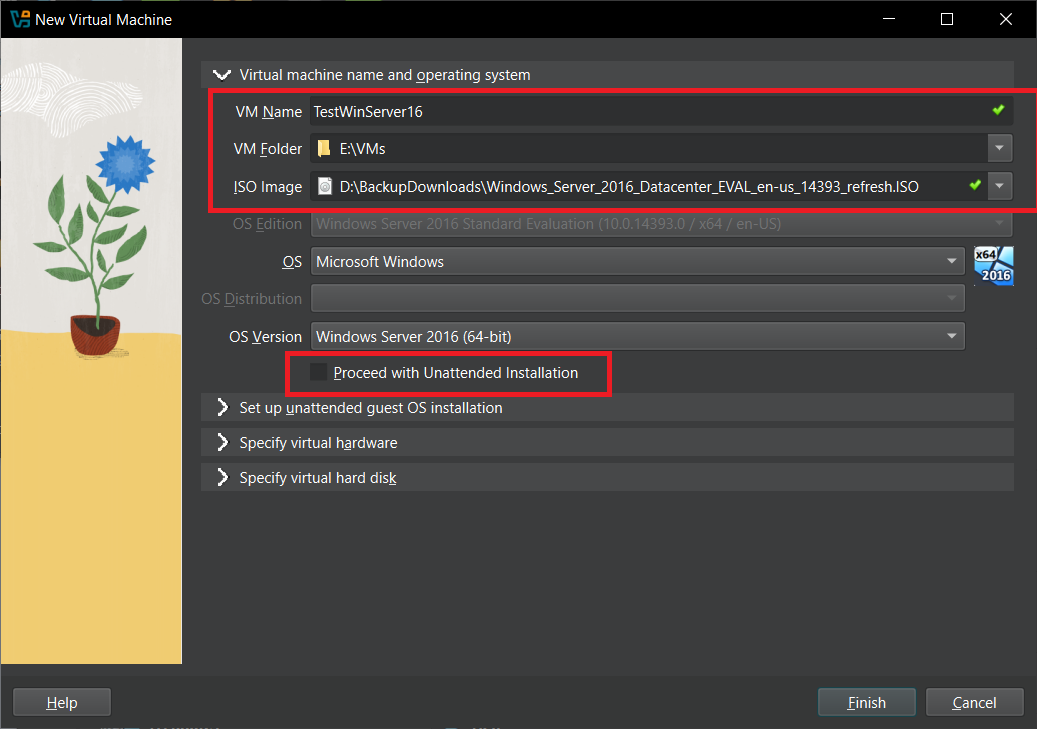
Now add a name for your new Virtual Machine (e.g. Windows Server 16), choose a drive/folder where this VM will be stored, select the ISO file for Windows Server 2016 and make sure to uncheck the “Unattended Installation” option because we will be installing it manually.
Download Windows Server 2016 ISO (Microsoft Evaluation Center)
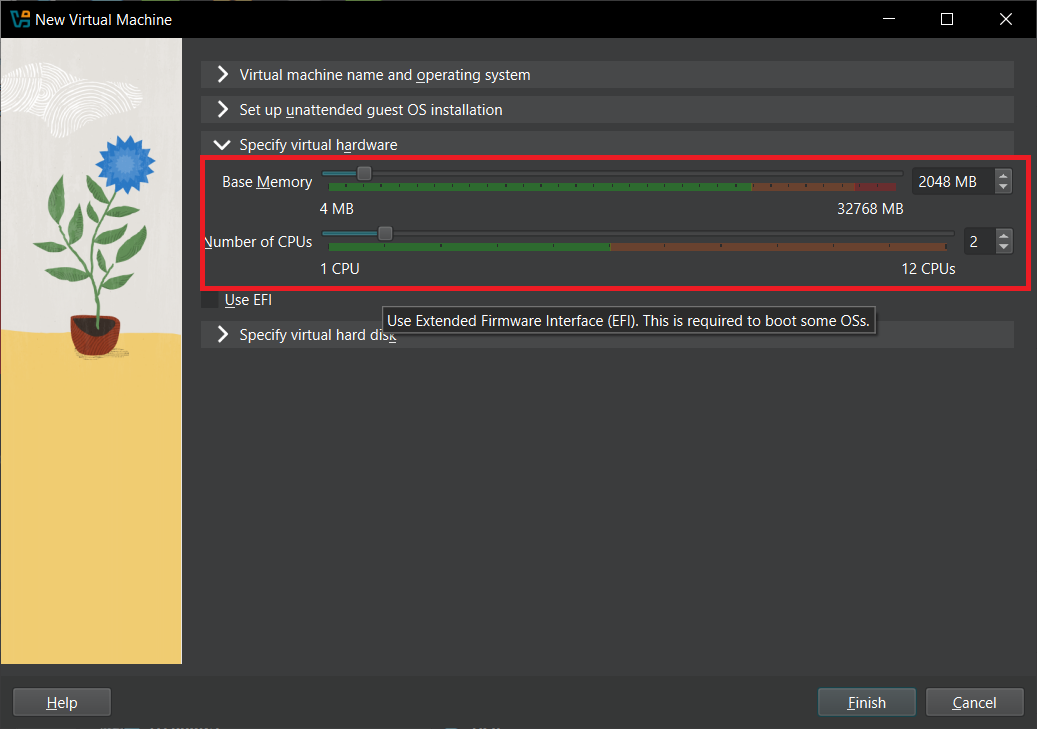
Now go to “Specify Virtual Hardware” tab and assign the amount of RAM and CPUs to your VM. For Windows Server 2016 (Desktop Experience), I assign 2GB of RAM and 2 CPUs, this is the minimum.
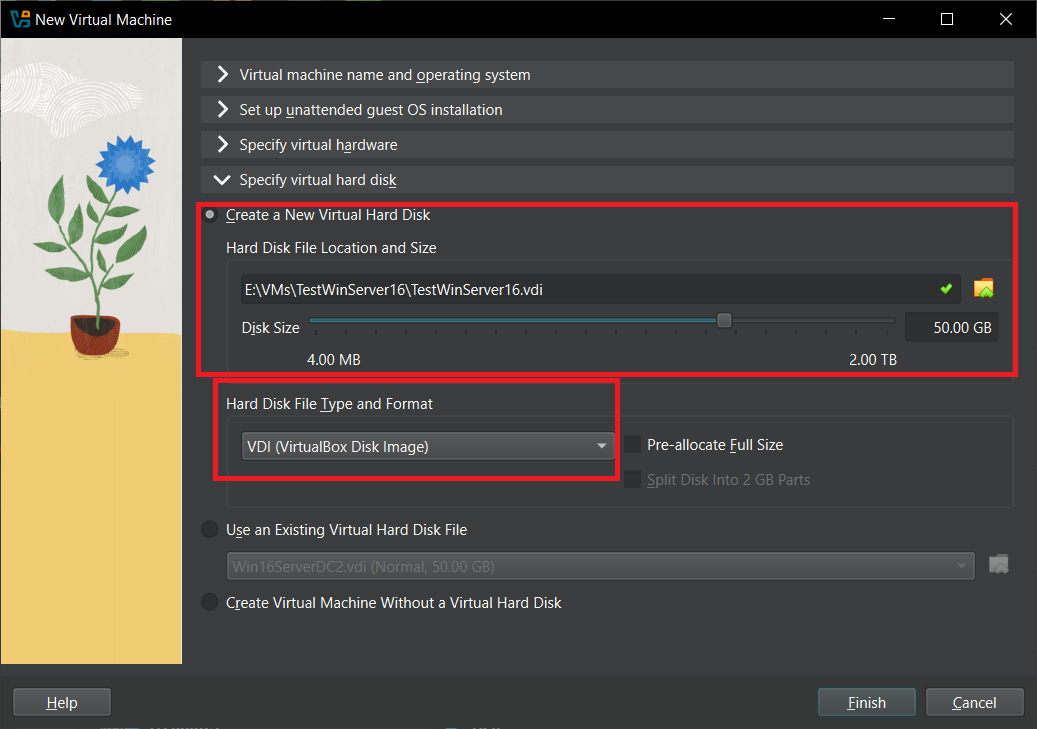
Now go to “Virtual Hard disk tab” and assign the storage. I always assign 50GB and choose VDI format. This way the storage is dynamic, and won’t take up 50GB on your real HDD/SSD immediately when you run it. It will dynamically increase/decrease when you store/delete more stuff from your VM.
Click Finish. Your VM is now created.
Now we need to assign our Virtual Network to the newly created VM.
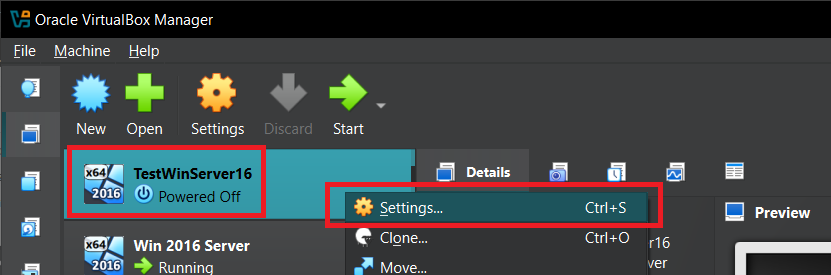
Right-click on your new VM and click Settings.
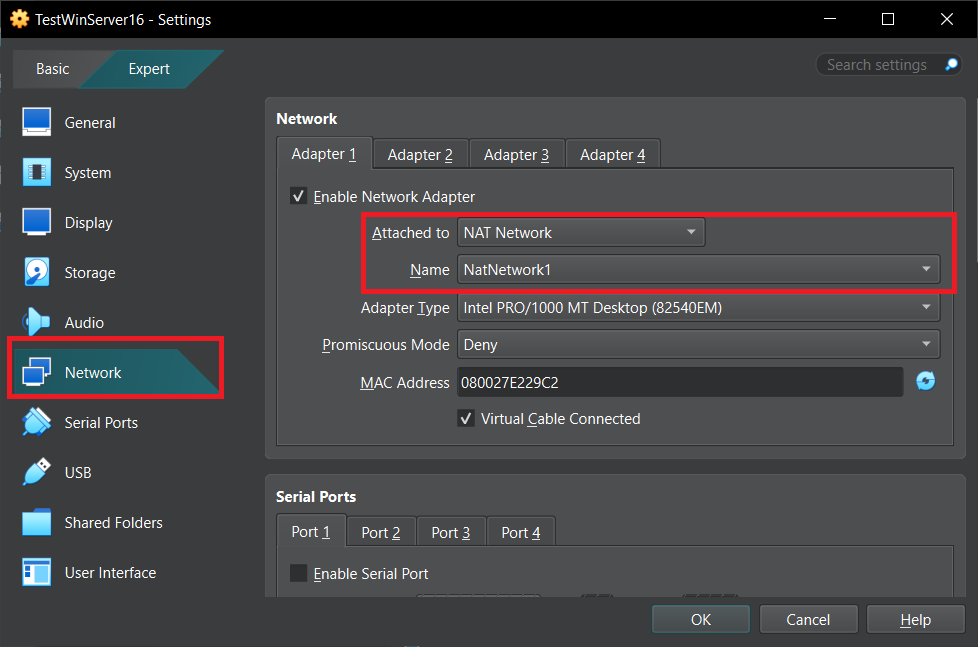
Go to Network tab. Change “Attached to” to NAT Network and “Name” to your previously created Virtual Network.
Click OK. Your VM is now created.
Next up, we need to install the OS (Windows Server 2016 in this case) on the new VM.