First of all, you need to download the latest version of VirtualBox for your system
Install it, then open VirtualBox.
Click File > Tools > Network
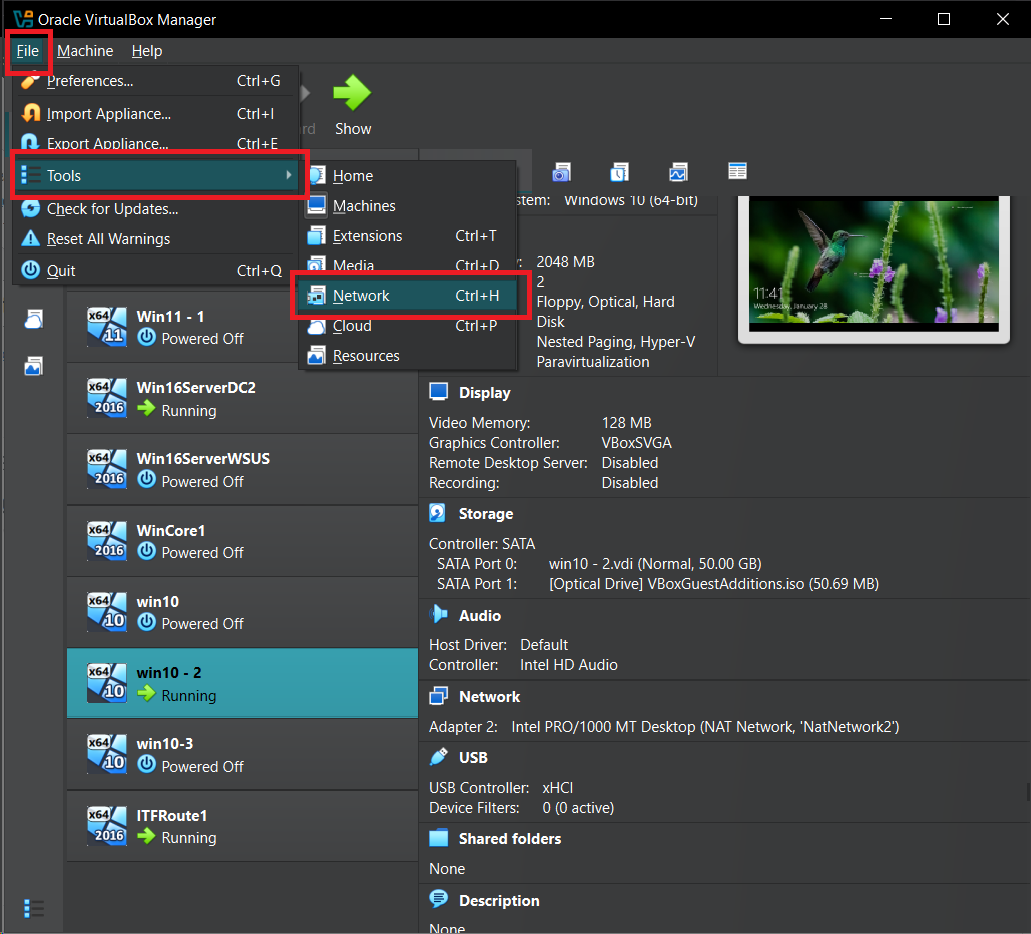
We will be creating a new Nat Network because it will also let your VMs talk to each other, and also access your Internet as well.
Now click NAT Network and then click Create. Add a new name for your network and define subnet for your new network (I used 192.168.10.0/24) but you can use whatever you like. This will be your Virtual Network’s subnet that your VMs can use.
Uncheck DHCP because we will be using Windows Server’s DHCP instead.

Click Apply and you are done. You have now created a Virtual Network in VirtualBox.