How to Install and Configure Windows Server 2016 on VirtualBox?
Part of your rebuilt static knowledge blog.
Part 1: Install Windows Server 2016 in VirtualBox
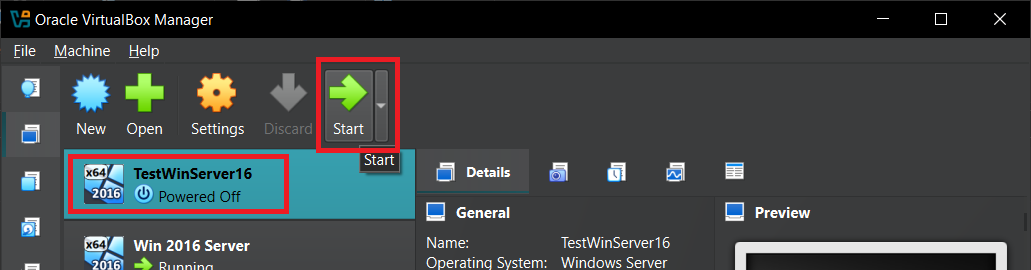
1) Start the VM
- Open VirtualBox
- Select your Windows Server VM and click Start (or Double-click it)
2) Run the Windows Setup
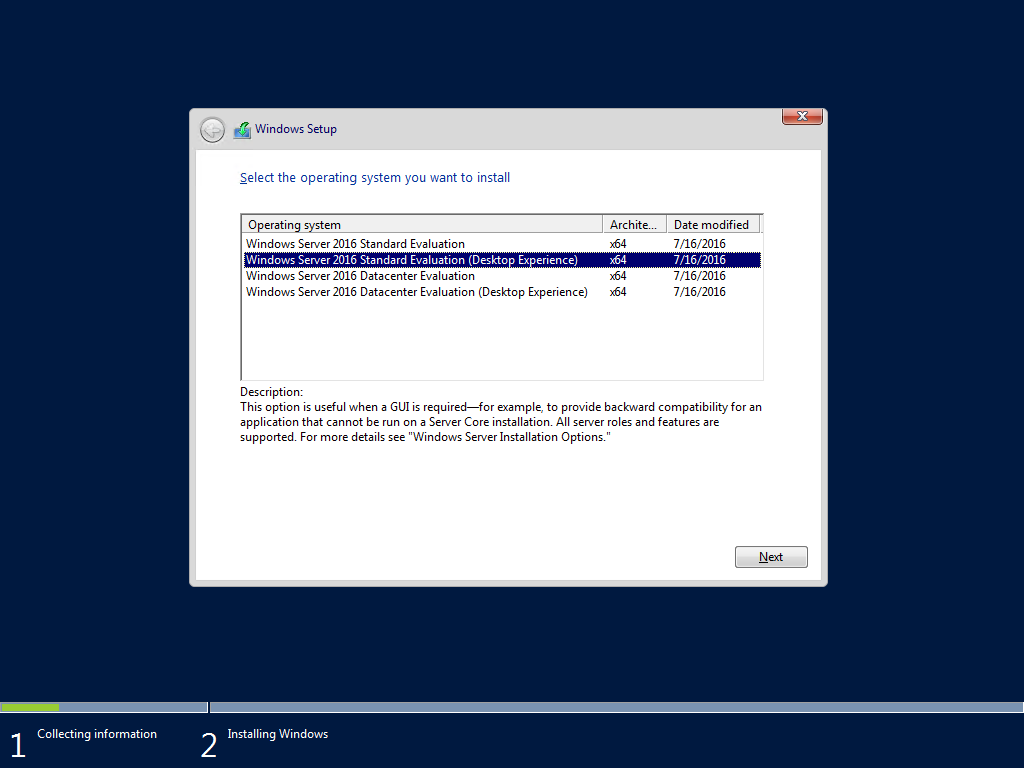
Select your language + keyboard (example: English) → Next → Install now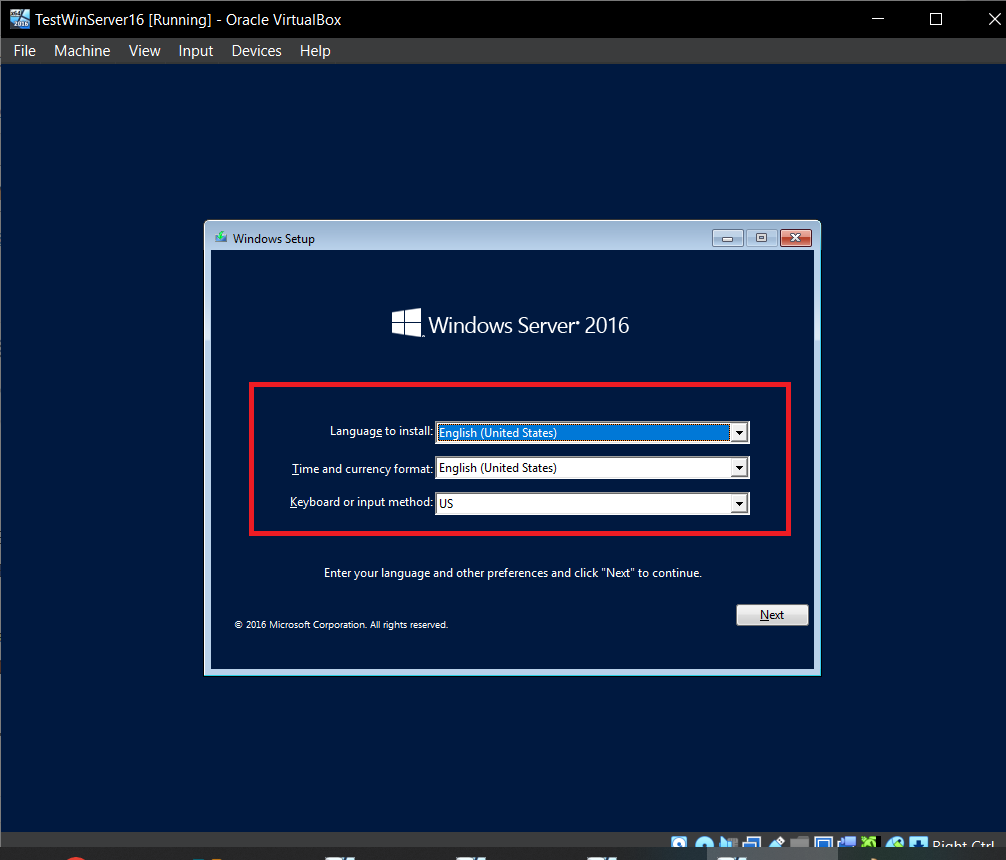 Choose Windows Server 2016 Datacenter Evaluation (Desktop Experience) → Next
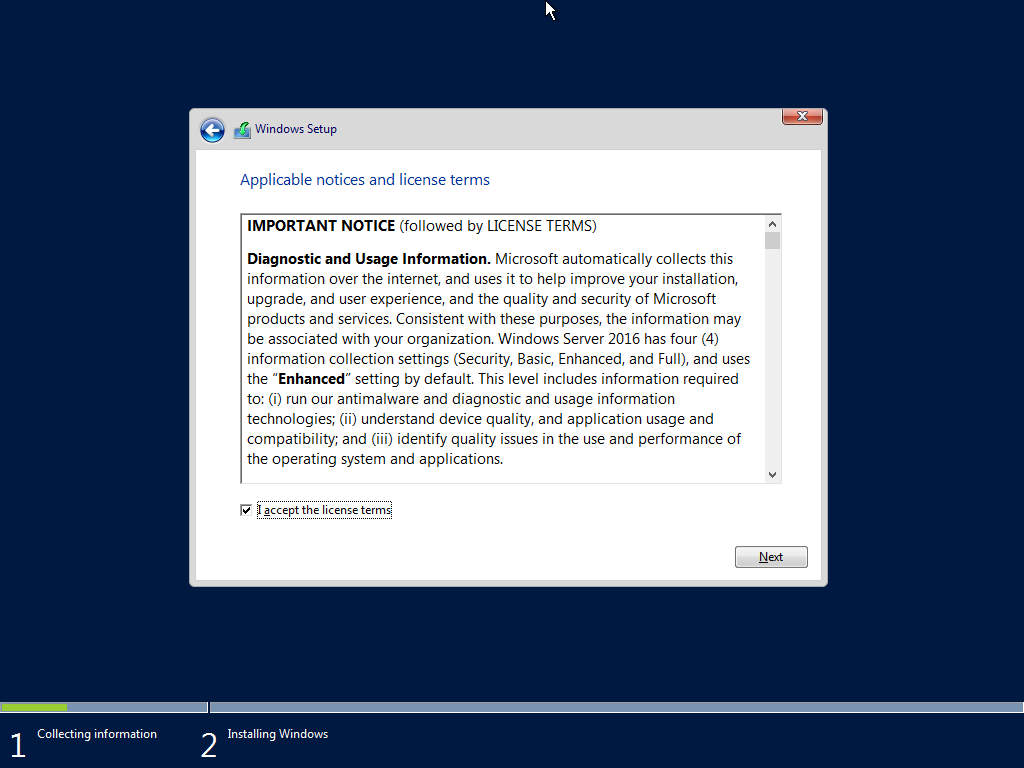
 Accept the license terms → Next
 Select Custom: Install Windows only (advanced)
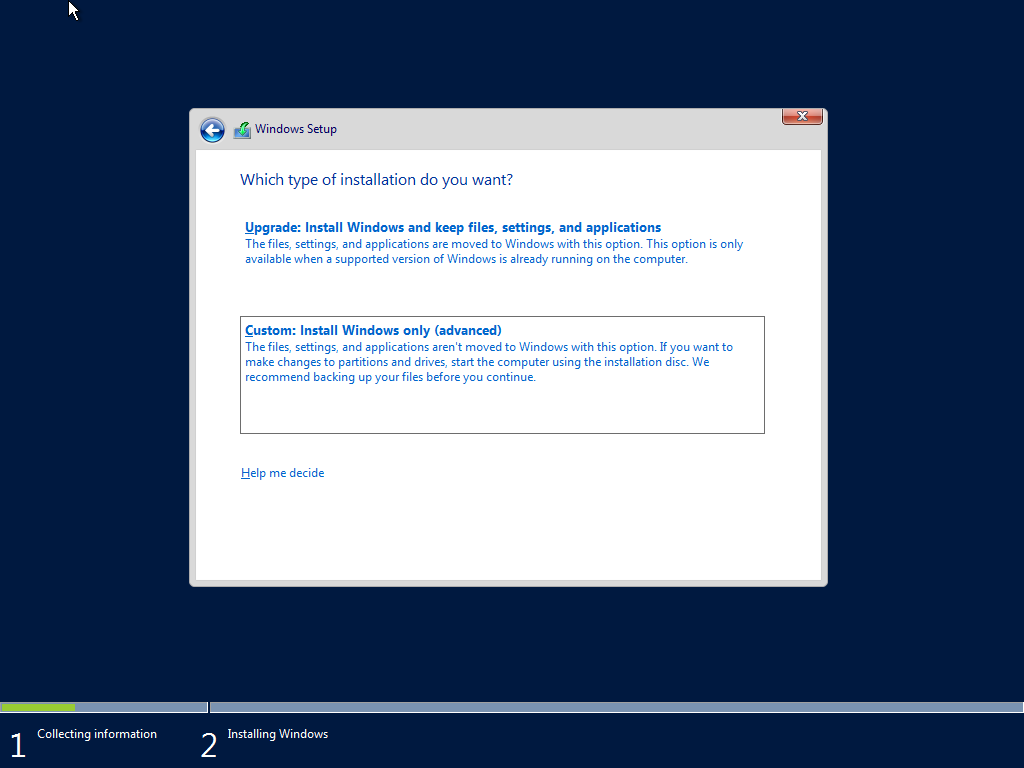 Select the drive to install to → Next and let the install finish
3) Set the Administrator password
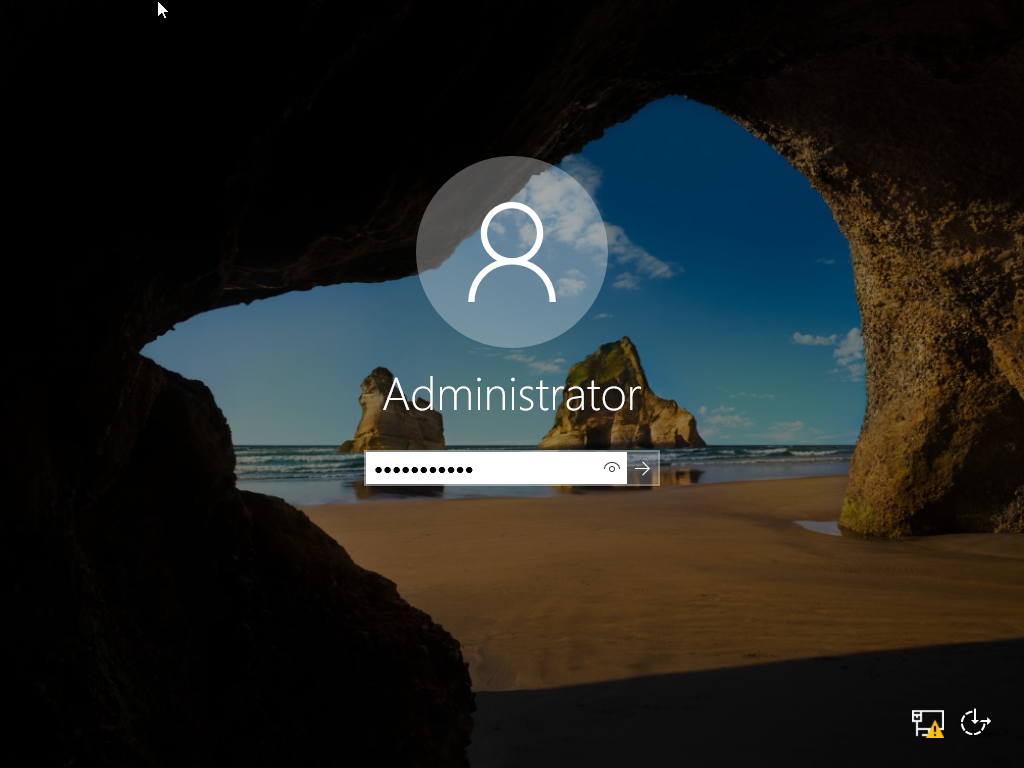
Once installation completes, set an Administrator password (make sure you remember it)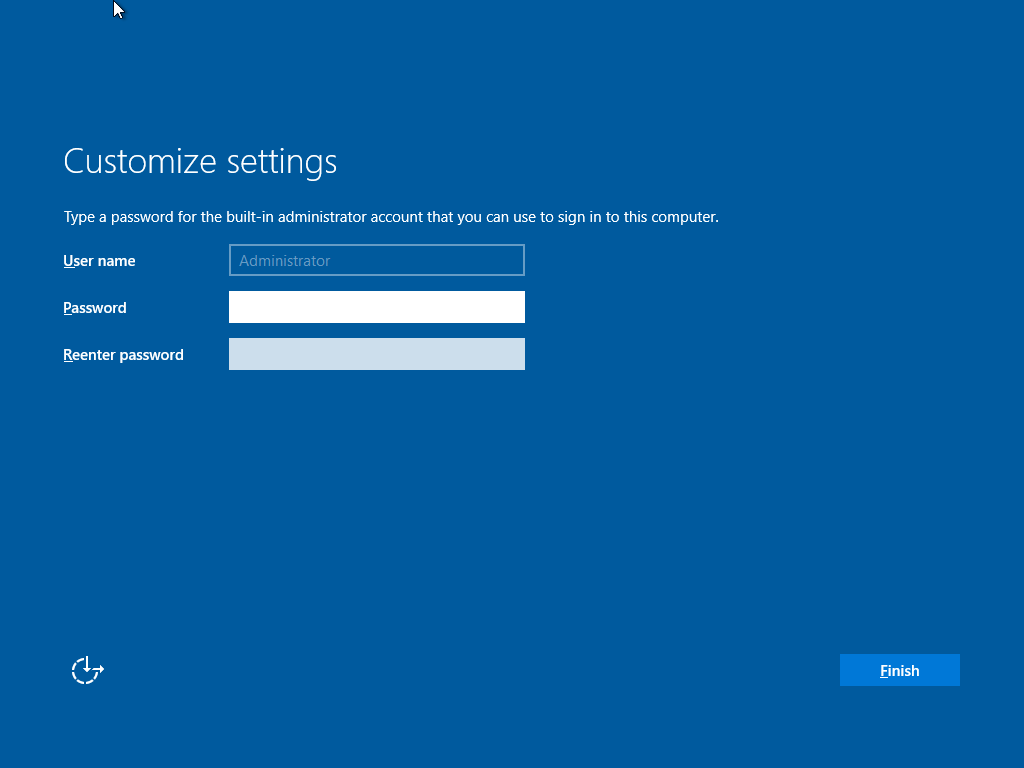 Log in using the credentials you just created
Part 2: Basic Windows Server 2016 Configurations
1) Install VirtualBox Guest AdditionS
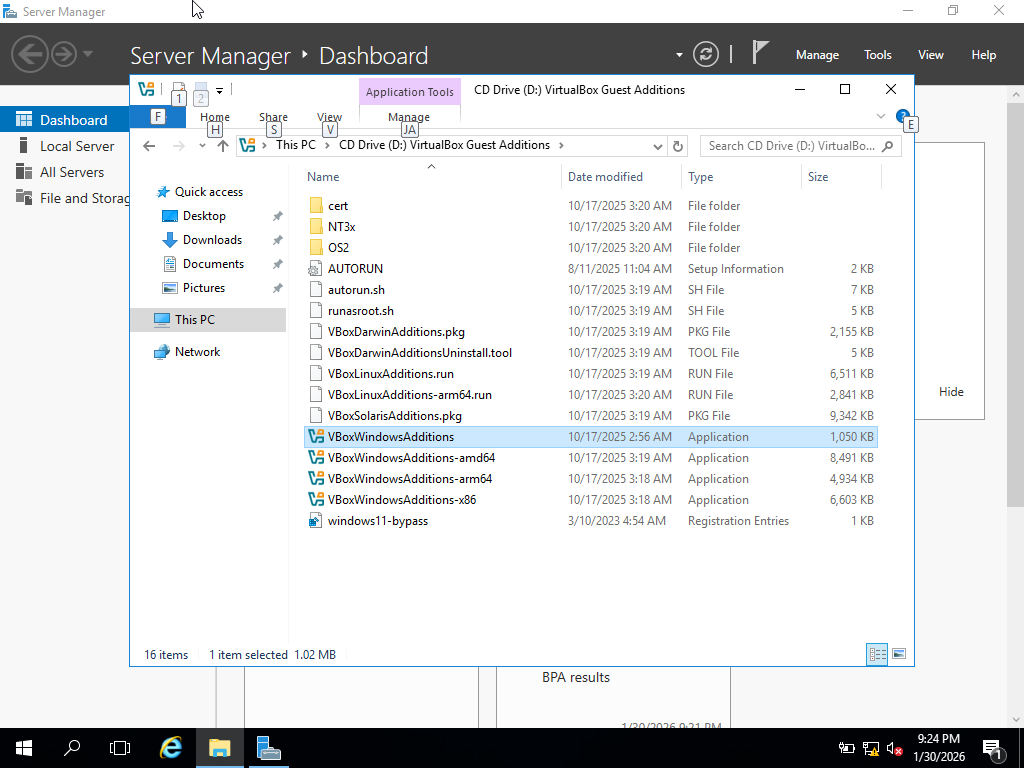
Inside the VM: Devices → Insert Guest Additions CD image…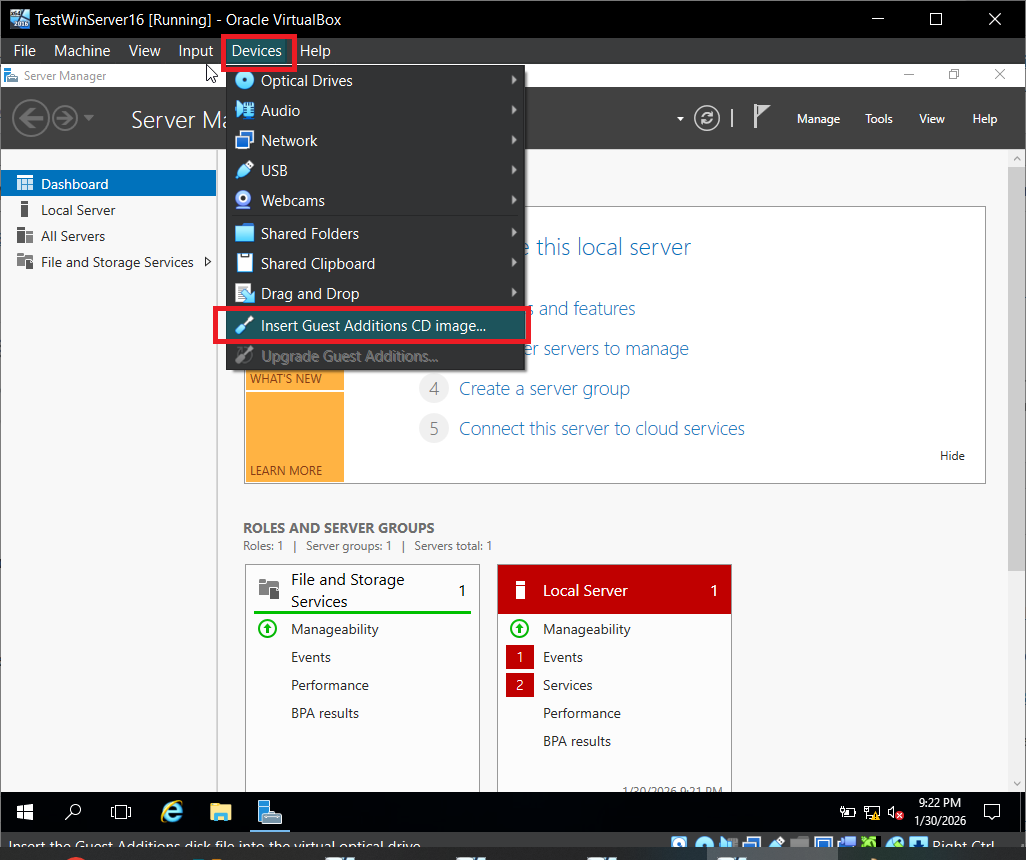 Open File Explorer → This PC → open the Guest Additions CD. Click through VBoxWindowsAdditions
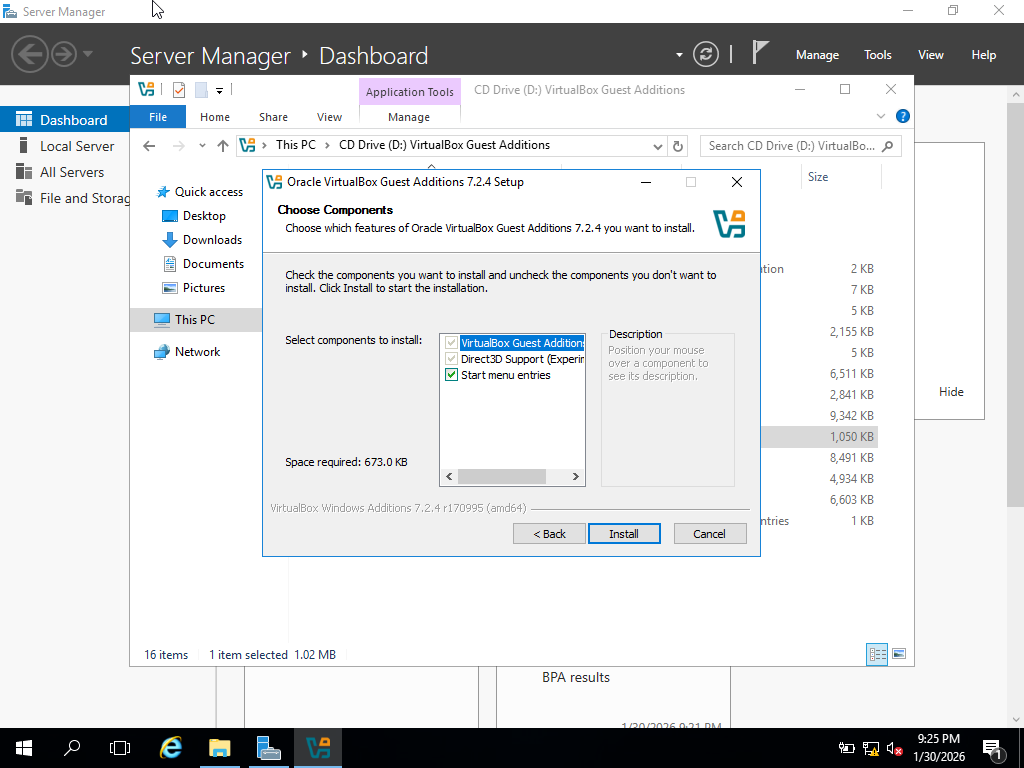
 When prompted about device software, choose Install
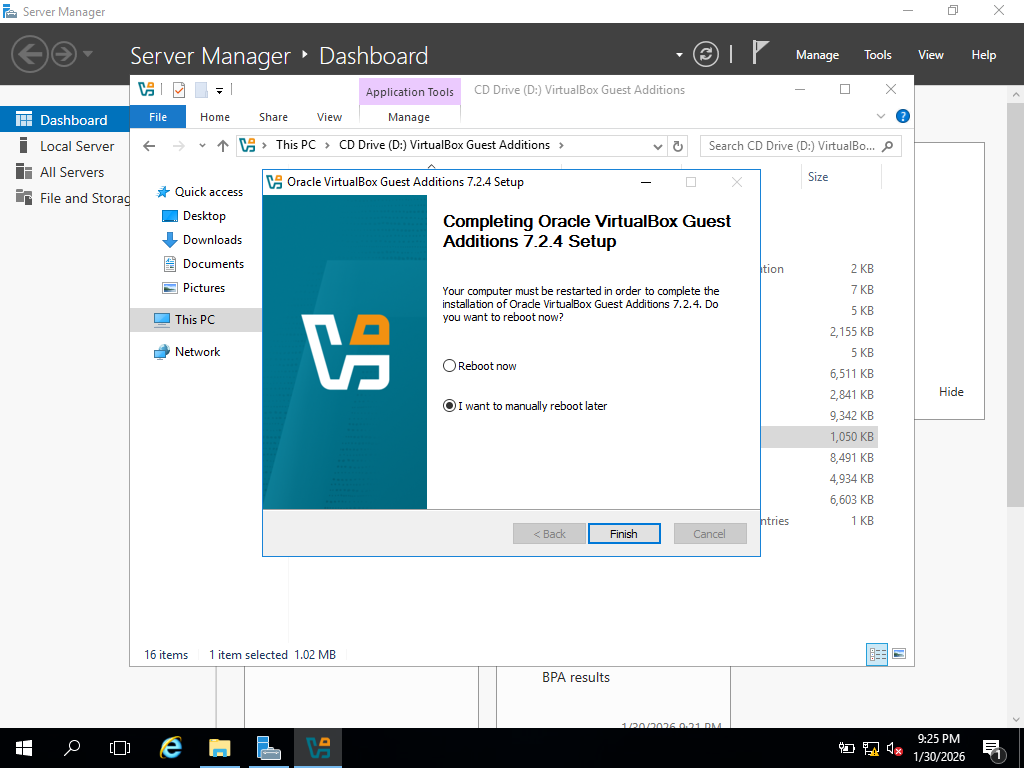
 DO NOT Reboot when finished
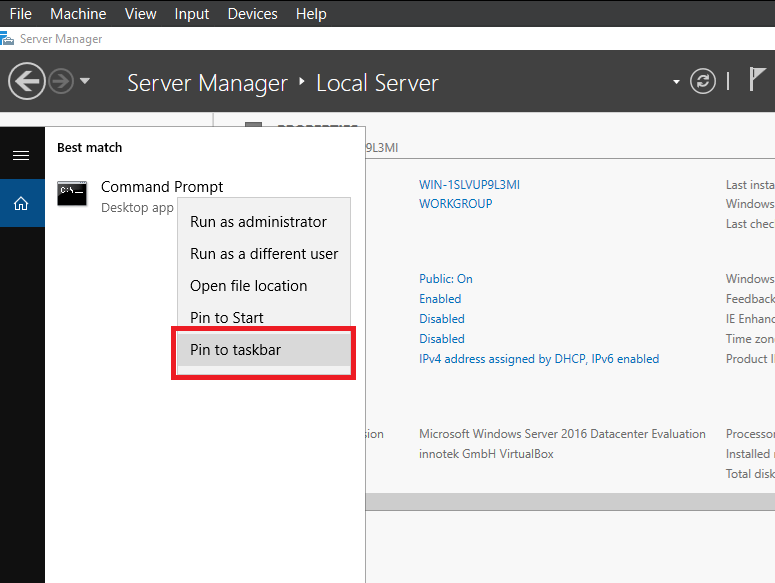
2) Pin Server Manager + Command Prompt (optional)
Open Server Manager and pin it to the taskbar (right-click → More → Pin to taskbar)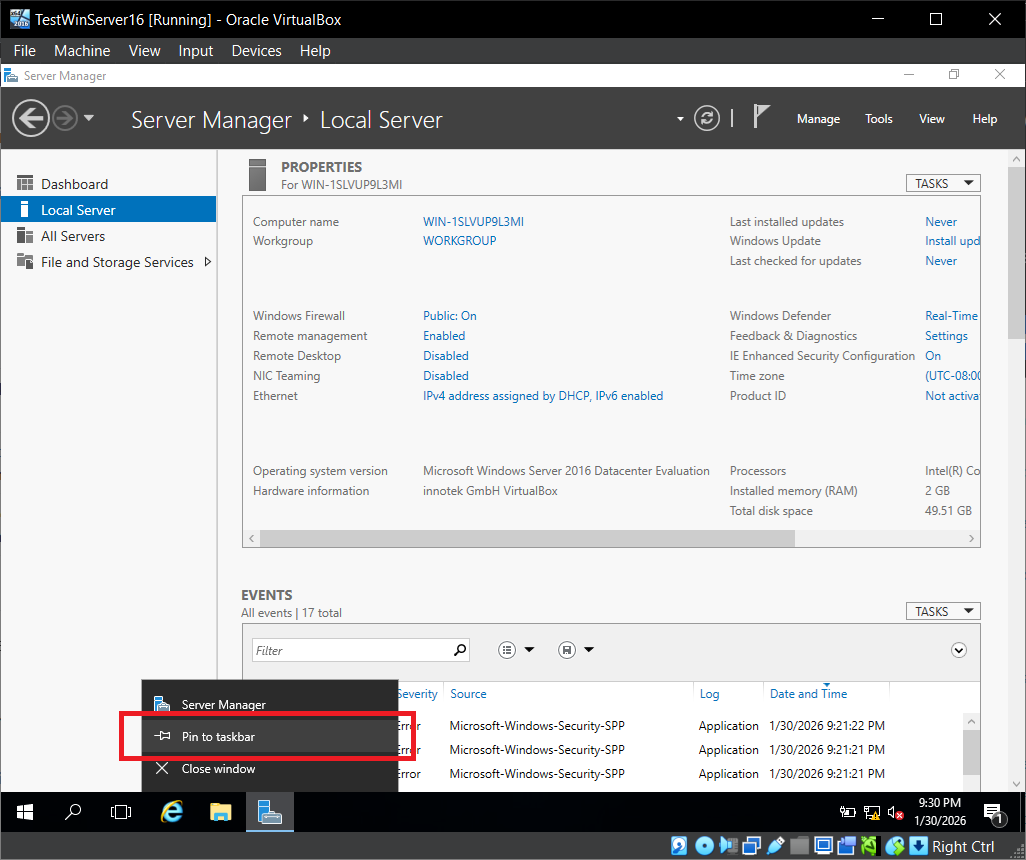 Search for cmd and pin Command Prompt too
Networking Setup (NAT Network)
Fix Adapter (NAT Network) if it shows 169.254.x.x
If your Ethernet adapter has a169.254.*.* address, we need to assign a static IP. I recommend assigning a static IP on the NAT network (example range: 192.168.0.2 to 192.168.0.254).
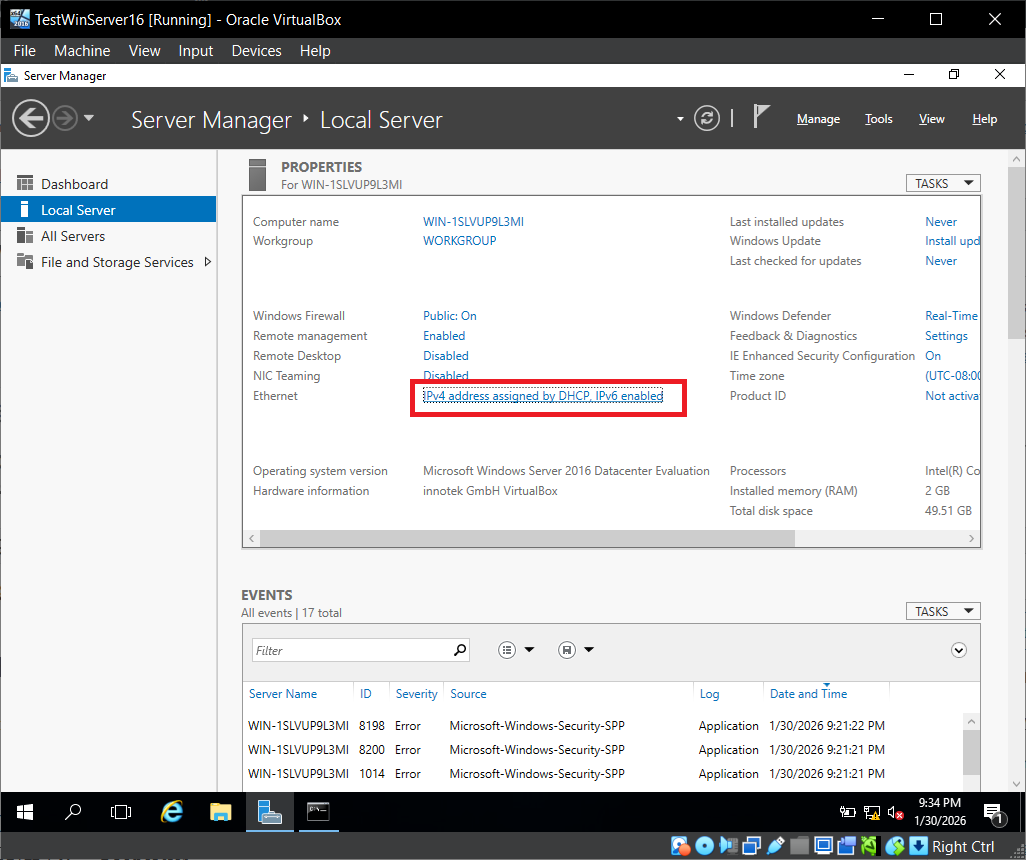
Set a static IPv4 on Ethernet
Open Server Manager → Local Server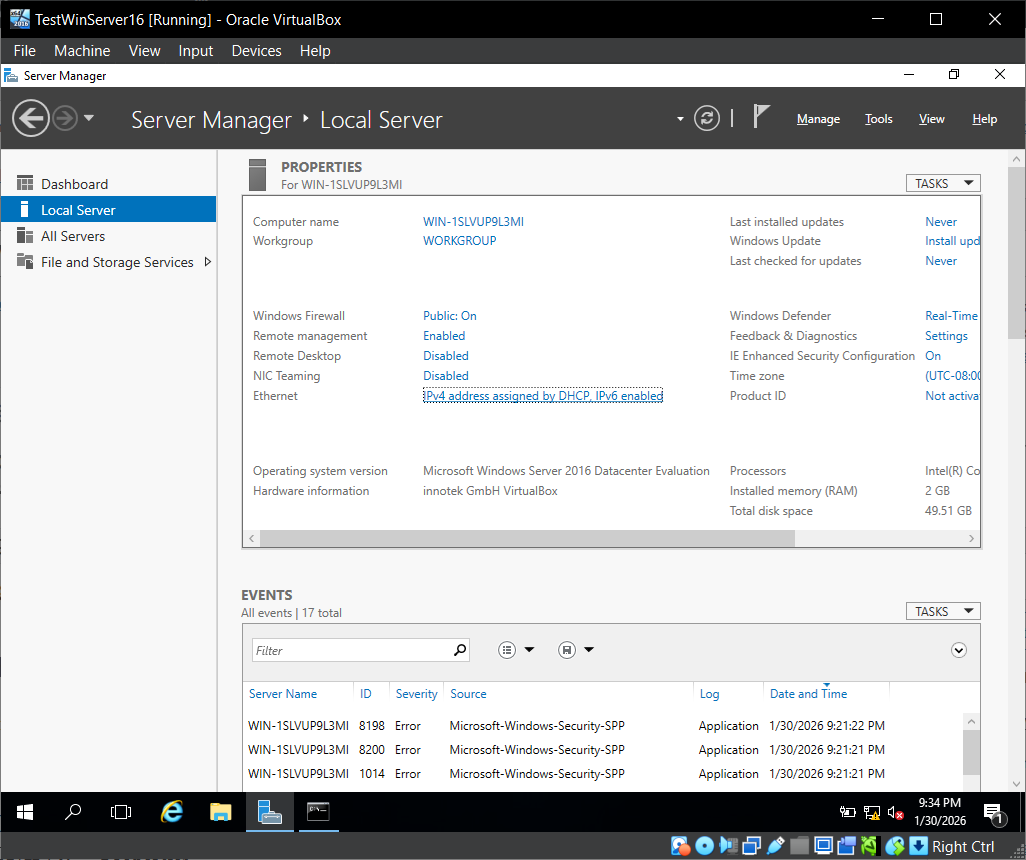 Click the IPv4 link next to Ethernet
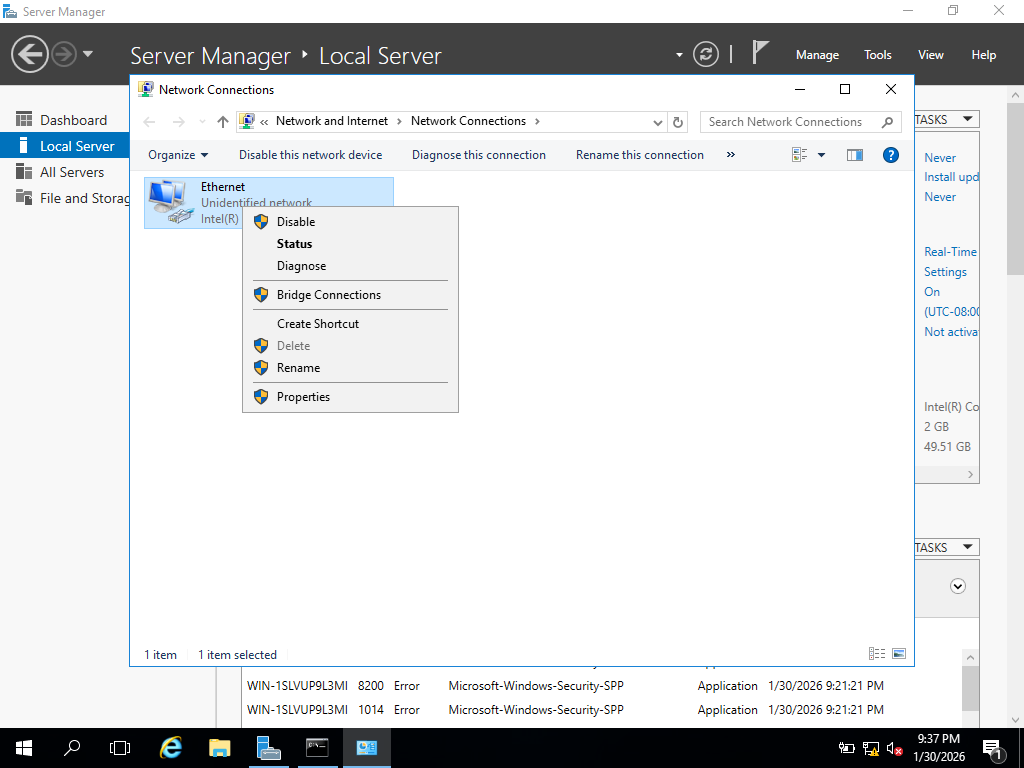
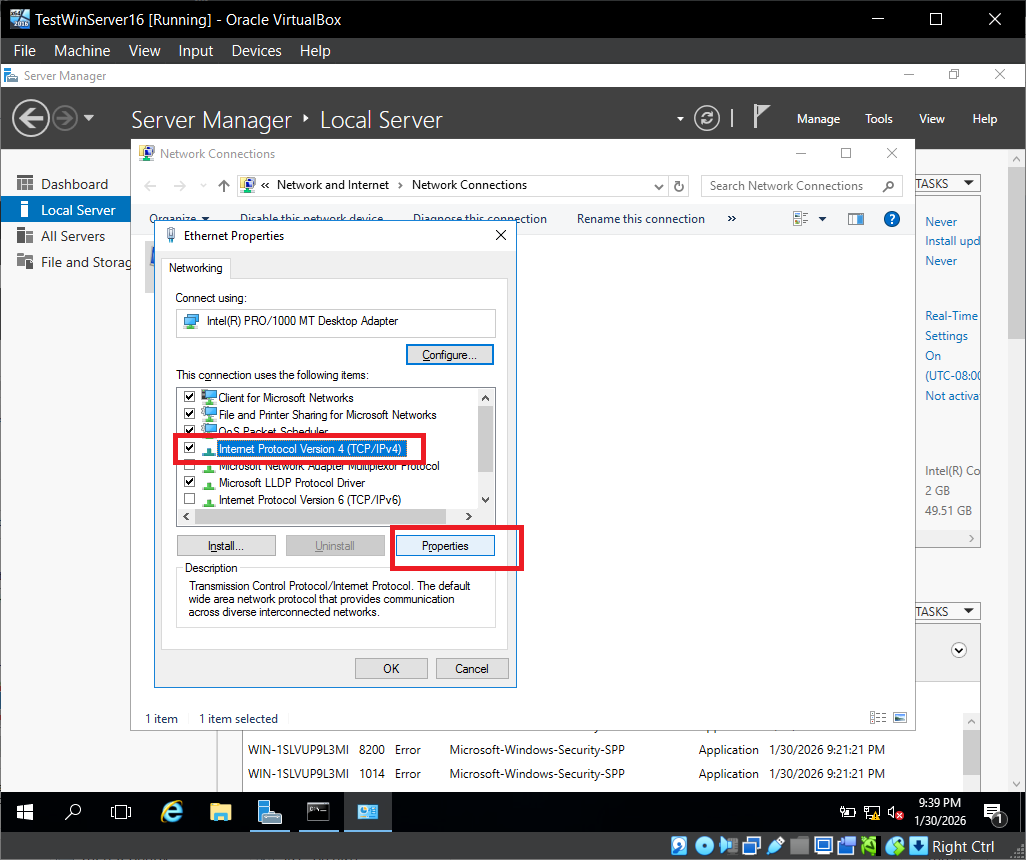
 Right-click Ethernet → Properties
 Uncheck Internet Protocol Version 6 (IPv6)
 Select Internet Protocol Version 4 (TCP/IPv4) → Properties
 Choose Use the following IP address and enter:
IP Address: 192.168.10.10 (example — you can use anything from 192.168.10.2 to 192.168.10.254)
Subnet Mask: 255.255.255.0 (Will populate automatically)
Default Gateway: 192.168.10.1 (This depends on what subnet you defined for your NAT Network in VirtualBox)
Preferred DNS: 192.168.10.10 (Seerve's own IP as it will also be our default DNS Server)
Alternate DNS: 8.8.8.8
Choose Use the following IP address and enter:
IP Address: 192.168.10.10 (example — you can use anything from 192.168.10.2 to 192.168.10.254)
Subnet Mask: 255.255.255.0 (Will populate automatically)
Default Gateway: 192.168.10.1 (This depends on what subnet you defined for your NAT Network in VirtualBox)
Preferred DNS: 192.168.10.10 (Seerve's own IP as it will also be our default DNS Server)
Alternate DNS: 8.8.8.8

Rename the Server
Server Manager → Local Server
Click the computer name to open System Properties
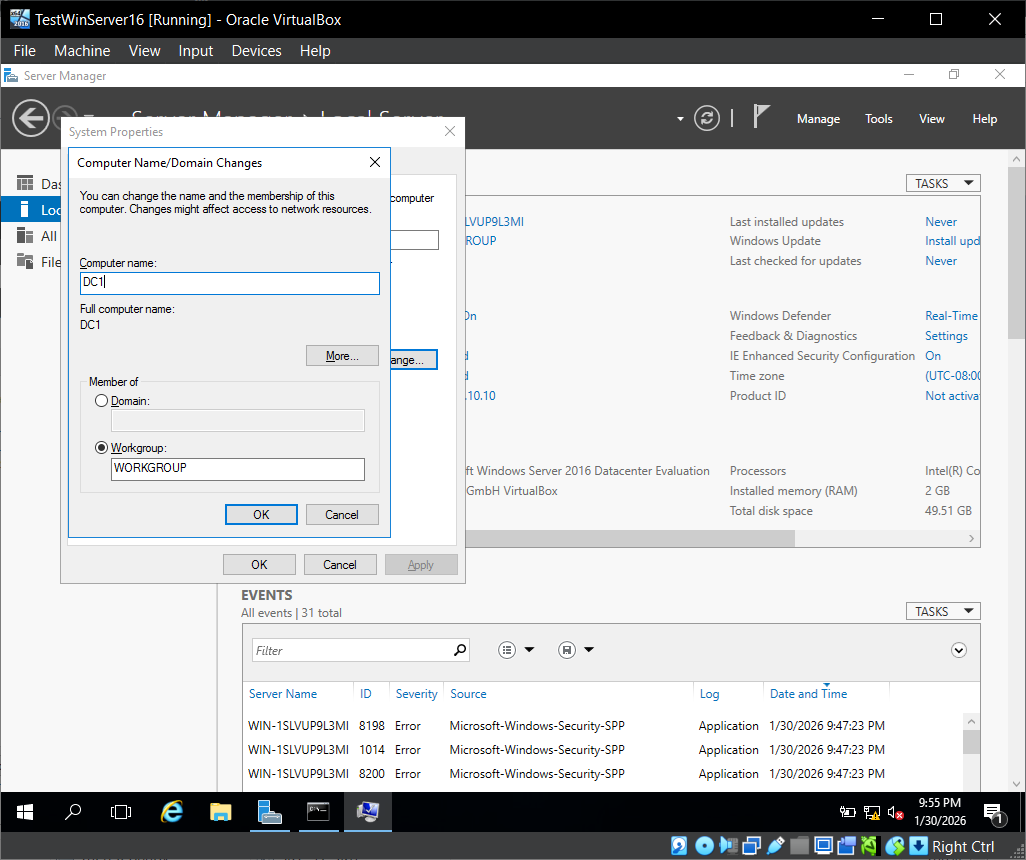
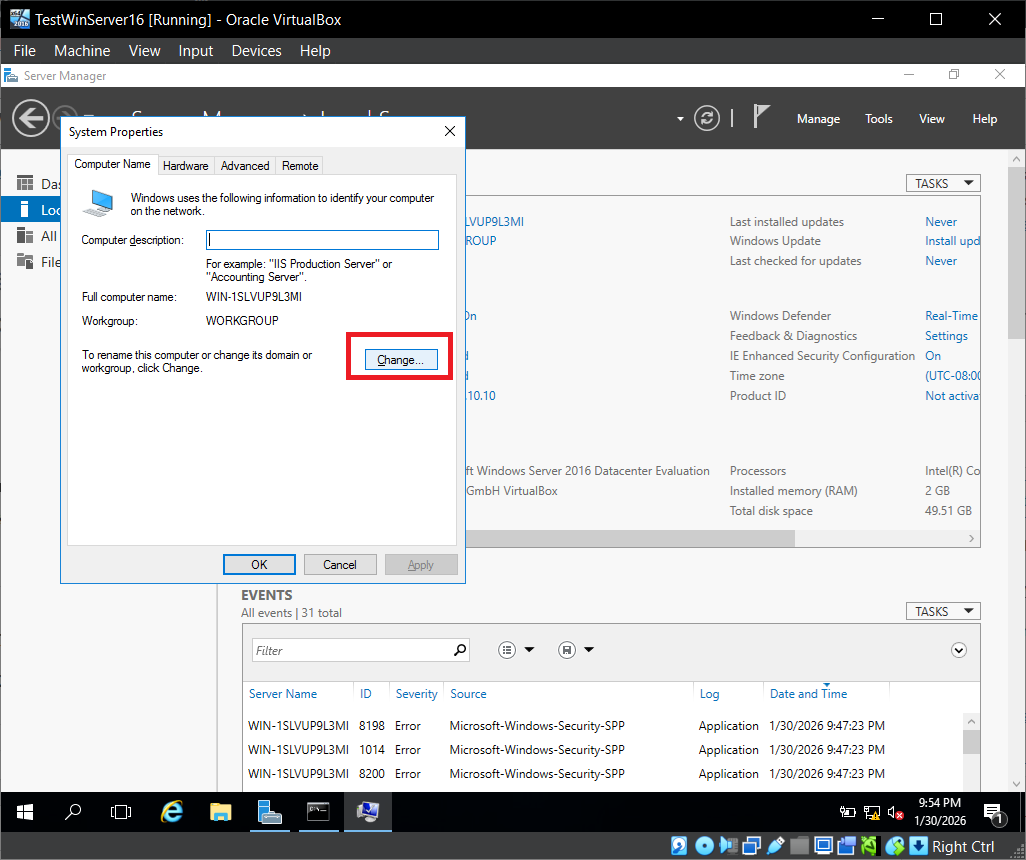 Click Change and enter a new name (example shown: DC1)
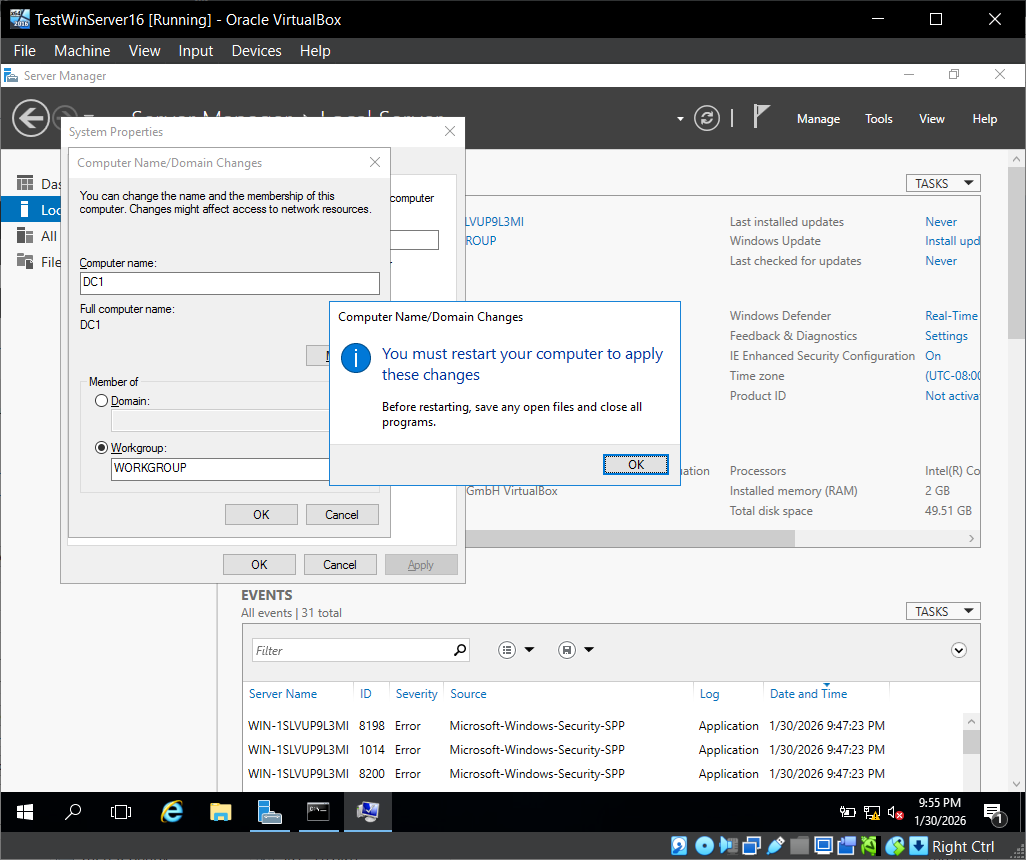
 Restart when prompted
At this point, you should have Windows Server 2016 installed, Guest Additions working, network connectivity confirmed, and a properly renamed server ready for the next steps.